Heroku is a cloud platform that allows to build, develop, manage and scale applications (PaaS - Platform as a service). It support languages like Ruby, NodeJS, Python, PHP, Java, Scala, Clojure, Go, Kotlin. Moreover, it also provide Database, SSL free, strong support for teamwork as well as linking with Github in a simple way.
Note: Heroku sleeps our instance after 30 minutes of inactivity. So if a request is made to our instance during sleep, it takes 5-10 seconds to respond. A workaround is to use Kaffeine to keep your apps awake even after 30 minutes of no requests hitting it.
Let’s proceed to deploy our application to Heroku. First, you will need to sign up:
Deploy app on heroku
- Goto https://dashboard.heroku.com/apps -> login
- Click New button and choose Create new app
-
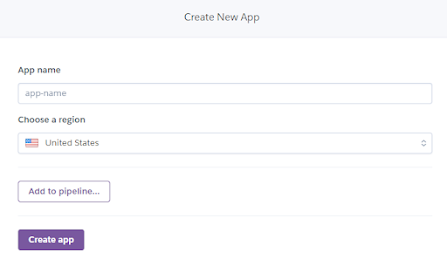
Fill in App name and click Create app button
- At Deployment method in Depoy tab, let's choose a method to deploy your app:
Method 1: Using Heroku CLI
* Install the Heroku CLI and follow Deploy using Heroku Git in Deploy tab to start your deployment.
heroku git:remote -a sanhangsalegiaregit add .git commit -am "Initial server"git push heroku masterMethod 2: Connect to Github
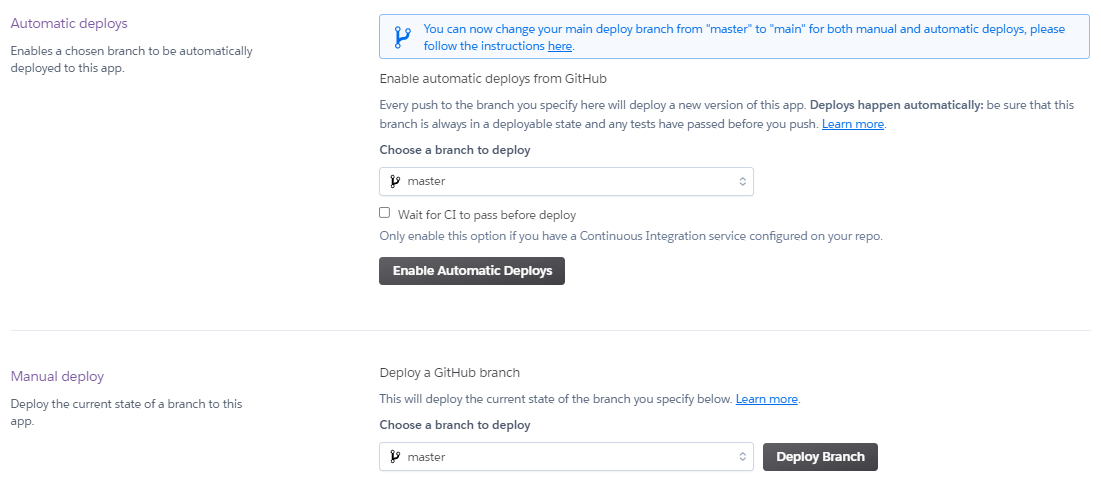
* Choose GitHub method and click Connect to GitHub button to Authorize for heroku app.* Then Search for a repository to connect to and click Connect button beside the repo which you select to deploy.* After that, scroll down and click Deploy Branch for the master branch.* We will see the build, deployment logs, and a success message, like below:Tip: Turn on the Enable Automatic Deploys for your master/main branch. This means each change to the main branch will be automatically deployed.
-
Click Open app after pushing success
Configure Environment variable
Method 1:
heroku config:set DATABASE_URL='value'
Method2:
Goto Settings tab on heroku dashboard and see Config Vars
Update deployment
git add .git commit -am "Comment"git push heroku master


